AI Image Editing Workflow: Natural Retouching & Exports
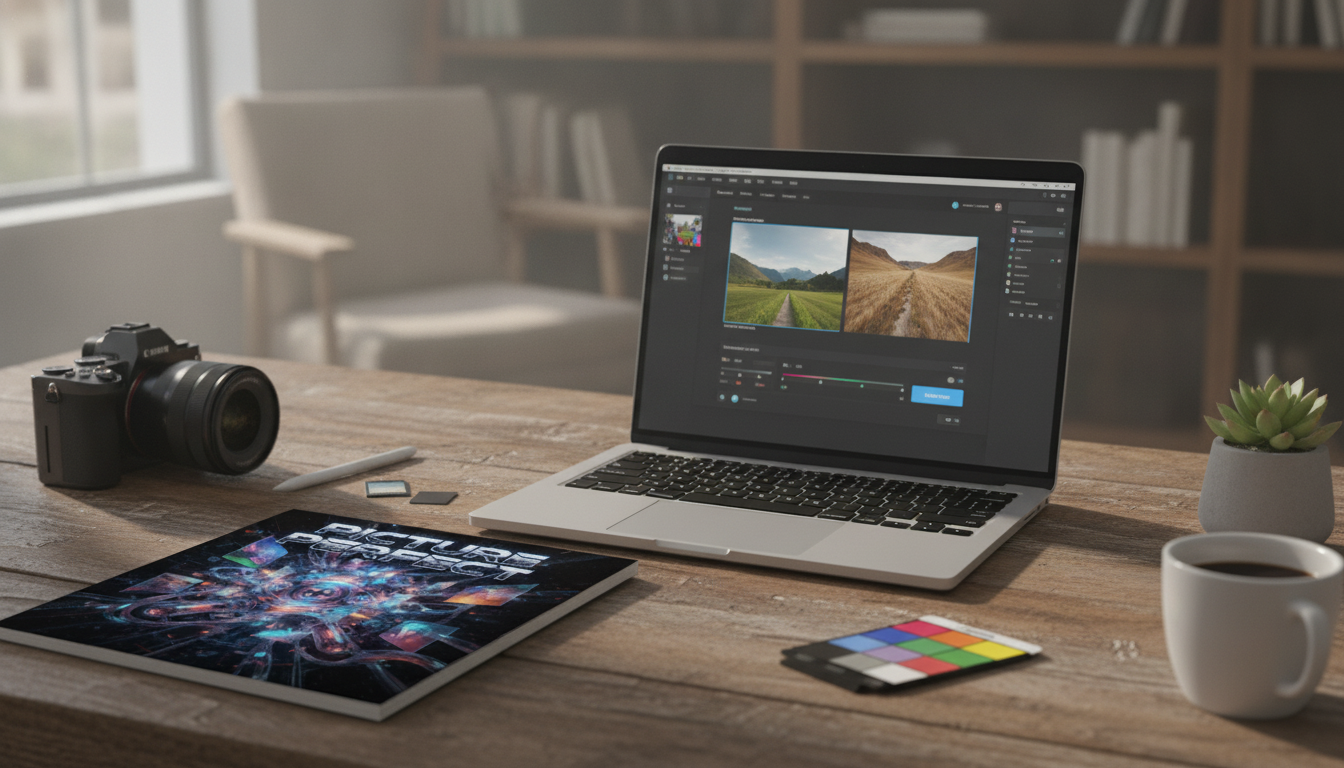
AI image editing has shifted from “nice-to-have” to a practical daily helper: it can fix exposure and noise in seconds, handle time-consuming retouching with surprising precision, and even generate believable scene changes when you need a fresh option fast. The best results come from treating AI as a strong first pass—then applying a light human finish so your photos look intentional, consistent, and real.
What AI Image Editing Does Well (and Where It Can Miss)
Modern AI tools shine at fast, repeatable improvements: exposure and contrast balancing, white balance correction, denoise, deblur, sharpening, and upscaling for cleaner detail at larger sizes. They’re also strong at precision retouching—skin smoothing, blemish removal, subtle teeth and eye enhancements, flyaway hair cleanup, and even ironing out clothing wrinkles without repainting an entire area by hand.
Where things get more advanced, AI can remove or replace backgrounds, swap skies, erase objects, and use generative fill to extend a canvas or create variants. Style shifts—cinematic color, film emulation, and illustration/anime transformations—are also widely available, and they’re great when a consistent “look” matters more than strict realism.
The tradeoff is that AI can fail in recognizable ways: odd hands or teeth, warped repeating patterns (fabrics, tiles, grids), haloing around hair, overly smoothed “plastic” skin, and mismatched shadows/reflections. A simple mindset helps: let AI do the heavy lifting, then use selective edits and a quick reality check to keep results believable and aligned with your brand style.
Pick the Right Tool Type for the Job
Choosing the right category of tool is often more important than choosing a specific app. One-click enhancers are ideal for quick cleanup and social posts, but they can be heavy-handed and offer less control. Full editors with AI features work best for layered workflows where masks and local brushes prevent global “overprocessing.” Background-removal specialists are excellent for product cutouts and compositing. Generative editors are powerful for expansions and replacements, but they require the strictest review.
Mobile tools win for speed and convenience; desktop wins for batch processing, color accuracy, and high-control retouch.
| Goal | Recommended AI Tool Type | Quality Checks to Prioritize |
|---|---|---|
| Clean up portraits | Full editor with AI retouch + masking | Skin texture, hair edges, eye/teeth realism |
| E-commerce product images | Background removal specialist + full editor | Accurate edges, true-to-life color, shadow consistency |
| Low-light event photos | AI denoise/deblur enhancer | Detail retention, banding, color shifts |
| Creative composites | Generative editor + layered editor | Lighting direction, perspective, reflections |
A Reliable 10-Step Workflow for Natural-Looking Results
1) Start with the best source. Use the highest resolution available; RAW files give more flexibility for highlight recovery and white balance.
2) Set a target look. Decide early: natural, editorial, cinematic, or stylized. A clear destination prevents “endless tweaking.”
3) Do global corrections first. Exposure, white balance, contrast, and highlight recovery should come before detail tools.
4) Run AI cleanup carefully. Denoise, deblur, or enhance detail—avoid stacking multiple enhancers blindly, which can create brittle edges and fake textures.
5) Use selective masks. Adjust face/skin separately from the background to avoid smoothing everything into a plastic haze.
6) Retouch with restraint. Remove distractions (blemishes, lint, small objects) without erasing identity lines, freckles, or natural texture.
7) Handle backgrounds deliberately. If you remove/replace a background, match depth of field and add realistic shadow falloff so subjects don’t float.
8) Color grade for consistency. Aim for a repeatable palette; watch skin tones, since too orange or magenta reads instantly as “edited.”
9) Inspect at 100%. Check edges, repeating artifacts, warped lines, and odd micro-details (especially around hair and teeth).
Retouching Portraits: Clean, Real, and Consistent
Product and Listing Photos: Backgrounds, Color, and Trust
Creative Transformations Without Losing Photographic Believability
Common Artifacts and Quick Fixes
Export Settings That Preserve Quality
For web use, JPEG or WebP are common choices; WebP can deliver strong quality at smaller file sizes (see the W3C WebP specification). For print, export at higher resolution and use the color profile your lab requires. For marketplace listings, follow size rules and re-check color after compression—some platforms alter files on upload. For archiving, keep the original plus an editable master (layers/versions) alongside the final export.
Ethics, Permissions, and Transparency
Consent matters for significant facial or body alterations—especially in commercial work. If an image is heavily AI-generated or composited, consider disclosure based on platform policies and audience expectations. Tools like Content Credentials and the C2PA standard support authenticity and attribution workflows. Avoid identity misuse, fabricated events, and copyright violations; use licensed assets and follow tool terms for generated outputs.
Recommended Resources from Our Store
For a deeper, step-by-step approach to enhancing, retouching, and transforming images with consistent results, check out Picture Perfect: Ultimate Guide on How to Use AI for Image Editing – Enhance, Retouch, and Transform Your Photos.
If you’re setting up a simple shooting corner for product photos and creative composites, studio styling can help your images feel intentional. Consider statement décor props like the Modern Astronaut Floor Sculpture or a distinctive surface piece such as the Nordic Rabbit Statue Table with Tray for themed shoots and display setups.
FAQ
Can AI image editing replace Photoshop-level manual editing?
AI can accelerate many edits, but manual control is still important for fine edges, realistic texture, and consistent styling across a set—especially for professional deliverables and product accuracy.
How can AI edits be kept natural-looking?
Start with global corrections, use selective masks for skin and key areas, keep retouch intensity low, and inspect at 100% zoom while matching lighting, shadows, and grain.
What’s the safest way to use generative fill or background replacement?
Use it for small fixes first, generate multiple options, verify geometry and shadows, and keep originals and version checkpoints so you can roll back if artifacts appear.












Leave a comment